
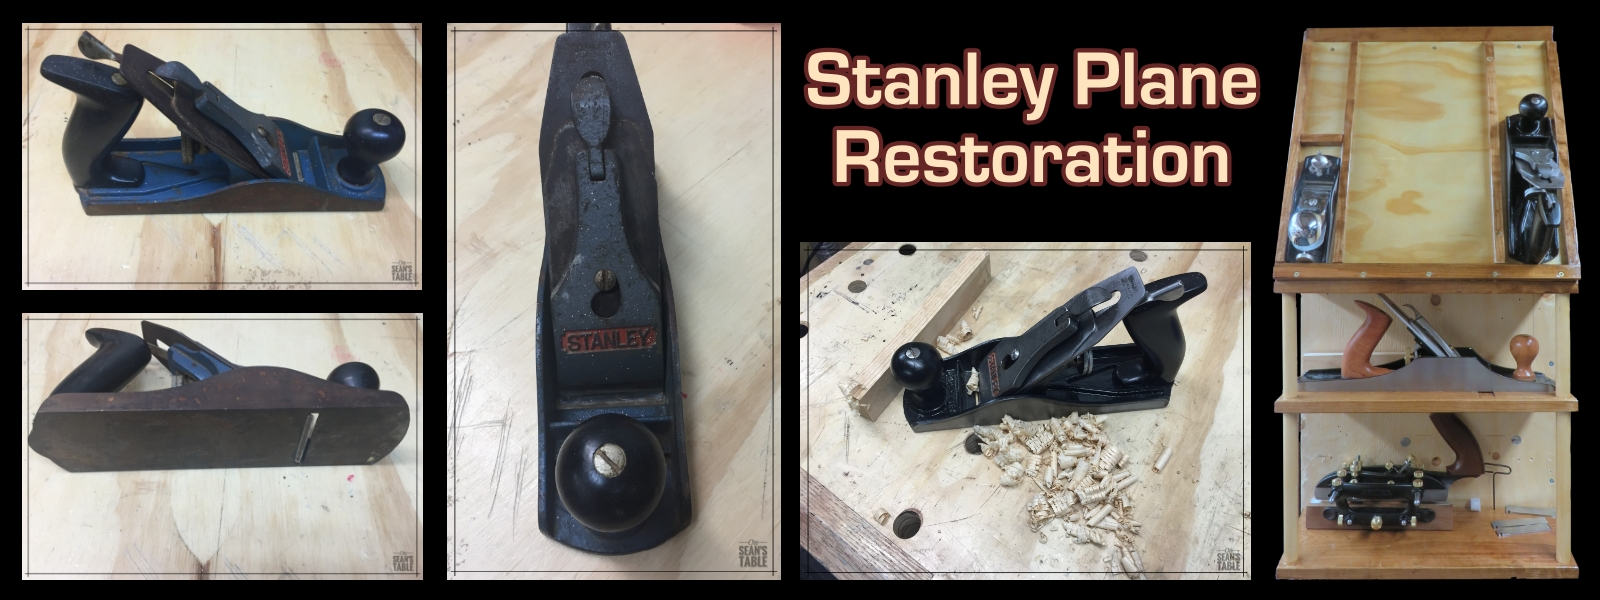
Stanley Plane Restoration
 I have increasingly merged my gaming and woodworking hobbies. A hardwood dice tray side venture is up and running and taken on a life of its own. I’ve got an Etsy store set up as well as a Facebook page. Covid lockdown, despite its numerous devastating impacts, has afforded me the time to take on a few of the more challenging projects on my list. Currently it’s learning how to do more woodworking by hand and that starts with using wood planes to size, smooth, and finish some of the work I was previously doing with machines. Planes are an investment so I was happy to find an old plane for sale and put in the work to get it up and running again. You can find out how it went in this latest instalment in the “Tangents” category of the website.
Facebook Marketplace and fifteen bucks later I was the owner of a #4 Stanley bench plane, circa 1965. This era saw Stanley planes and tools on the decline. The pre-WWII and WWII era planes are the stuff of woodworking legend. Their design and features are copied by high end tool makers to this day and the original planes are themselves highly prized. Nonetheless, the ’60s era plane I got is head-and-shoulders above the stuff available in the big box hardware stores today despite it’s layers of dirt, tarnish, and rust.


Despite the look of it the plane was in pretty good shape. Nothing was seized so a bit of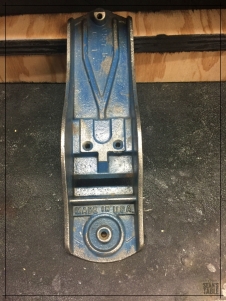 penetrating oil, a screwdriver, some patience and determination got it apart. Except some pitting on the upper surface of the blade where the hardened steel on the cutting edge met the rest of the blade, the rust was only on the surface. An hour with a steel and brass wire wheel on my bench grinder took the surface rust off all the parts. The inside of the base plate had some intact paint but rust bubbling up under the paint as well. All thoughts of keeping the plane in its original paint went out the window. The wire wheel and a Dremel tool got rid of the interior rust and I sprayed the interior gloss black.
Now for the part that would determine if the plane could actually be used, or just put on 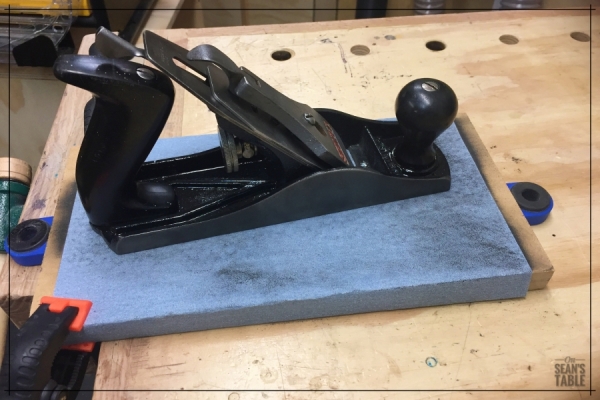 a shelf to look pretty. The purpose of a plane is to carry a cutting blade protruding from the bottom across the surface of wood, removing any high spots until the wood is in one ‘plane’ and flat. If the bottom of the plane isn’t flat and square to the blade the plane is useless. It’ll cause more work than it accomplishes. It’s nice if the sides are exactly 90 degrees to the sole of the plane as well but it’s not imperative. I’ll not be using this plane on a shooting board or as a 90 degree reference.
Following the advice of Paul Sellers, I reassembled the plane so I could work on the bottom and sides of the plane under full tension and load. There’s no point in flattening the bottom when dissasembled only to have the plane warp a little when the guts were reinstalled and tensioned. I clamped a piece of 120 grit sandpaper to a dead flat piece of MDF and then took a couple of tentative and hopeful passes. Whew! The bottom was actually still flat. A hundred or so passes later and the bottom of the plane was true, rust free, and polished. I can’t say enough about Norton brand sandpaper. A quick vacuum with a shop vac to remove rust and metal particle build up and the sandpaper was like new. Great stuff! I trued up the sides using the same method. Unlike the bottom, the sides were not dead flat – they had a hollow in the middle – but they polished up nicely.
There are aftermarket sources for blades, chipbreakers, and cap irons for most old Stanley planes but I was really hoping to use the ones I got with the plane. The aftermarket parts are reportedly excellent but they would be four or five times what I paid for the plane itself. I went through the whole process of setting up the blade assembly as if for a new plane that needed an initial sharpening. Where it counted – the leading quarter inch of the blade – took a sharpening from my diamond stones and strop really well. I flattened the back then reworked the primary and micro bevels on the front and back of the leading edge. The contact surfaces of the chip breaker and leading edge of the cap iron also got the same treatment so that, when tensioned, they would hold and support the blade securely and apply an even, non-warping pressure to the blade itself.


With the sole of the plane flat and the blades and supports trued and sharpened it was time to see if the plane was a useful tool or would just gather dust. Success! It produced a thin and even shaving from the piece of oak I used to see if it could deal with a hard and uneven grained wood. Not all tool reclamation projects have a happy ending. I’m really pleased with the way this one turned out and look forward to using the plane on future projects. In the meantime, it looks pretty good on the plane till I made to store what is becoming a collection of planes.


Nicely done! I wish I had time to restore a few of my old plane. I purchased a few old plane years ago and have not gotten around to it. I also have some that are barely used. If you are interested in purchase them, email me and I can send pictures!
Michael
check out my website site, http://www.MichaelsWoodcrafts.com
LikeLiked by 1 person
Thanks! I had a look at your site. It’s nice to see a small scale successful craft-based business.
LikeLike
thank you, I am a small shop but I stay extremely busy! Would you be interested in the plane I have? Email me if you are and I will send pictures to you.
Michael
LikeLike
What make, what year, what size is the plane? You can send photos to: OnSeansTable@gmail.com
LikeLike
A man of many talents. Nice restoration.
LikeLike
Great readiing your blog post
LikeLiked by 1 person